
How Do I Get Dressed with Hip Precautions?
The thought of getting yourself dressed after surgery while maintaining hip precautions can be stressful. Patients commonly think to themselves, “How can I put my socks on?” or “There’s no way I can tie my shoes.” There are many adaptive devices that are available to help with this process. Your physician or and occupational therapist may prescribe a kit called a Hip Kit, complete with tools to help with this process. Please see our blog post on “What is a Hip Kit” to learn about this group of items. Today, we will discuss in detail how to appropriately use the items included in your hip kit to dress yourself.
*Disclaimer: This blog contains links to affiliate websites. When you click on and/or purchase any items using these links, we may receive a small commission at no additional cost to you. Our use of affiliate links does not influence the products, services and information we share with you. My goal is to provide you with education to help you make informed decisions. These links allow me to reference the specific products that I have clinical experience using in the field.
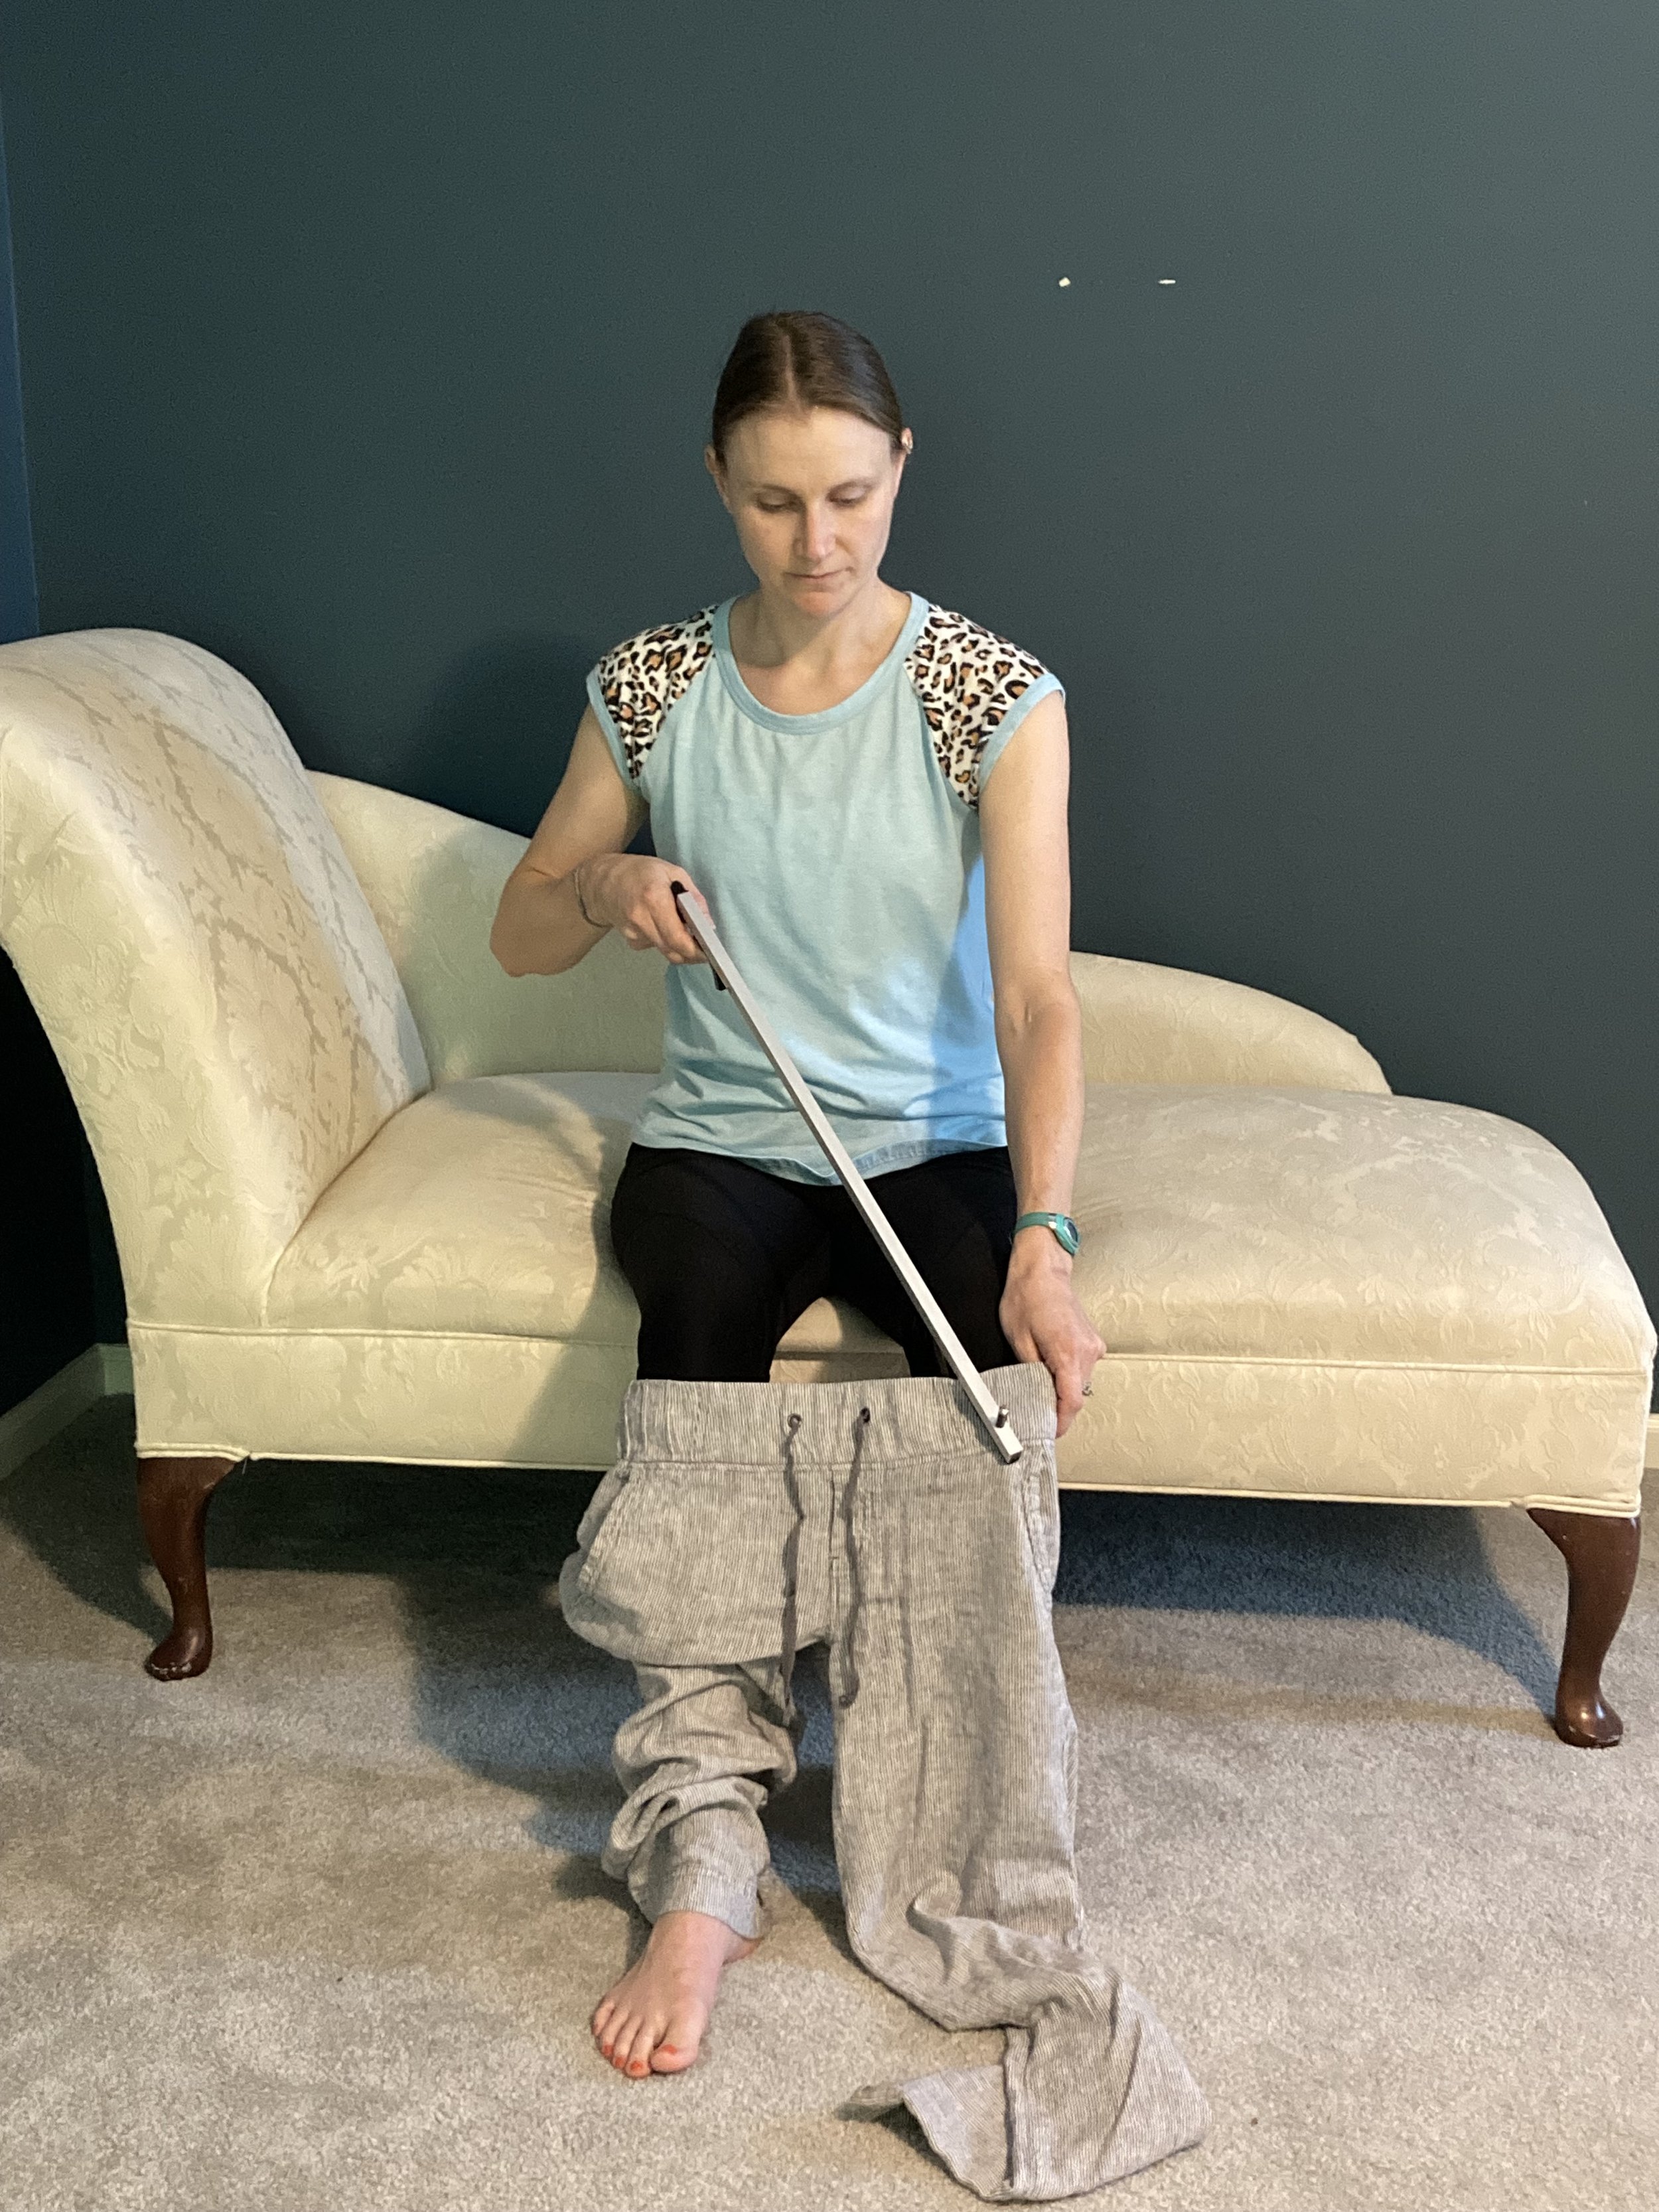
How to Use a Reacher to Put on Your Pants
The reacher has a couple functions to assist you with dressing. The first function is to assist with getting your pants and underwear over your feet.
Clasp the end of the reacher to the waist band of your brief or pants (recommend clasping on the side of your operative leg first).
While maintaining hold on the trigger, drop the pants to the floor and maneuver your operative leg into the pants leg.
Pull the pants up over your knee.
Switch the grasp of the reacher to the other side of the waist band.
Repeat the same process by dropping the pants to the floor and maneuver the other leg into the pants leg.
Pull the pants up over both knees.
Place the reacher on a nearby surface and then stand to pull the pants up over your hips.


The reacher can also be beneficial to utilize when taking your pants off.
Begin in standing with pulling your briefs or pants off your hips.
Return to a seated position and clasp the reacher onto the waistband (recommend clasping on the side of your good leg first).
While maintaining the clasp, drop the pants to the floor to remove the good leg.
Now clasp the waistband on the other side of the bad leg.
Use the reacher to bring the pants to a higher surface for an easier reach.


For a visual demonstration, feel free to check out our video on “How to Use a Reacher to Put on Your Pants without Bending” for more information.
How to Use a Sock Aid to Put on Your Socks
As mentioned in the previous blog post, the sock aid is named after its primary function – to assist with putting your socks on.
Place the sock aid in your lap, or pin it between your knees, with the device facing outward. The knots and strings should be closest to your body and the open edge facing upward. The open curve of the device will be facing your body.
Place the sock over the top of the sock aid. The back/heel of the sock should be aligned with the solid edge of the device.
Pull the sock all the way down over the sock aid, making sure that the toes of the sock are flat across the top of the device. If you have a longer sock, you can bunch the sock up at the bottom of the device near the knots.
Grab hold of both handles and drop the sock aid to the floor.
Place your foot into the sock. aid with the open edge facing up (solid edge is on the floor).
Alternate pulling the handles to slowly pull the sock up your foot and leg. Eventually, the sock will remain on your foot and the sock aid will slide up and out the backside of the leg.


Check out our video of “How to Use a Sock Aid” for more information.
How to use a Long-Handled Shoe Horn
The long-handled shoehorn is simple to use and allows you to easily slip your feet into your shoes with minimal effort while also maintaining the hip precautions.
Insert the toes into the shoe.
Insert the flared edge of the shoehorn into the heel of the shoe.
Use the shoehorn to guide your heel into the shoe.
Remove the shoehorn.


If you are having trouble managing the tongue of the shoe while your are putting your shoe on (sometimes the tongue gets pushed down when you slide your foot in) you can use a reacher and a long-handled shoe horn simultaneously to help with putting your shoe on.
Use your hands to pull the tongue of the shoe back as far as it will go (use your reacher to help with picking the shoe up off the floor).
Insert the flared edge of the shoehorn into the heel of the shoe and use the reacher to pinch the tongue.
Place your toes into the shoe in front of the shoe horn.
Use the shoe horn to guide your foot into the shoe while holding the tongue back with the reacher.
Once your foot is in the shoe, use the reacher to pull the tongue back towards your foot.


Check our our video for “How to use a Long-Handled Shoe Horn” for more information.
How to Use Elastic Shoelaces
Tying your shoes after surgery while maintaining hip precautions will most likely be very difficult. Included in the hip kit is a set of elastic shoelaces.
Remove your current shoelaces.
Thread the new elastic laces.
Once threaded, tie the laces. Laces should be tied tight enough so your foot stays in the shoe but loose enough to allow your foot to pass through without too much resistance. It may take some trial and error but once you find the correct fit, double knot your laces for a permanent fit. Note how your shoe will now stretch at the top when your foot goes in and out of the shoe.
Use the techniques above for using a long-handled shoe horn and/or reacher to put on your shoe.
When you are ready to take your shoes off, no need to untie your shoes, just slip your foot out and the shoes are ready to go for the next time.


Check out our video on “How to Use Elastic Shoes Laces” for more information.
There are many great devices and pieces of adaptive equipment on the market that are designed to assist with basic self care tasks. These devices are not “one-size-fits-all” and may not work for everyone, depending on your individual needs. If you find that a device is not working for your or you have questions along the way, this is a great time to ask your physician for a referral for an occupational therapy evaluation to help determine which equipment and techniques will best meet your needs. For more information on how to use these devices, please feel free to check out the “Hip Kit” series on our YouTube Channel. Also take a peek at our other posts on “What is a Hip Kit?”, “What are Hip Precautions?”, and “What are Spinal Precautions?”
* This blog was written with the assistance of Brittany Buck, OTS student with Cabarrus College of Health Sciences Master’s of Occupational Therapy Program.